
|
Modelling Technique: Water Bases
This whole technique is inspired by the brilliant tutorial over at Jenova's Website... this is simply my take on it. I always liked water effects on bases, and for my Relictors Commander, thought it a cool idea to do a melted daemon in the same manner.
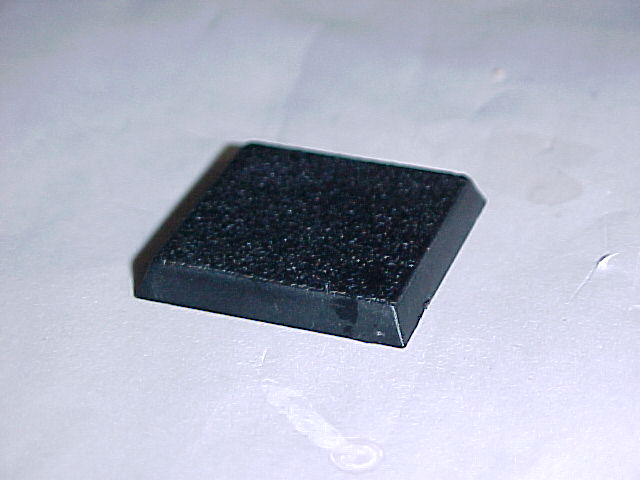
So firstly, clean up the base you are working on... if needs be, fill in the gaps in the base. Its easiest to do thie base seperate from the rest of the fig then carefully glue the finished fig to the finished base :)
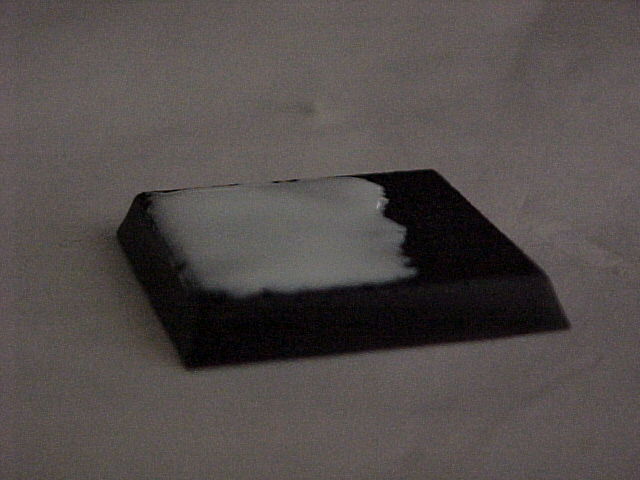
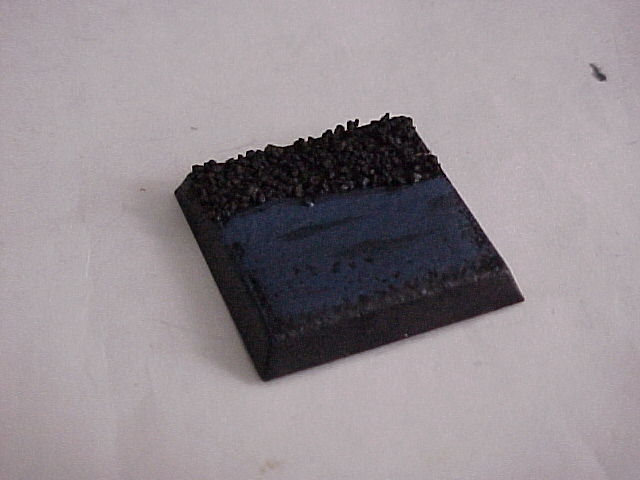
Next up, pour an amount of White PVA (elmers?) Glue on to the base where you want the water... take care to keep it even.
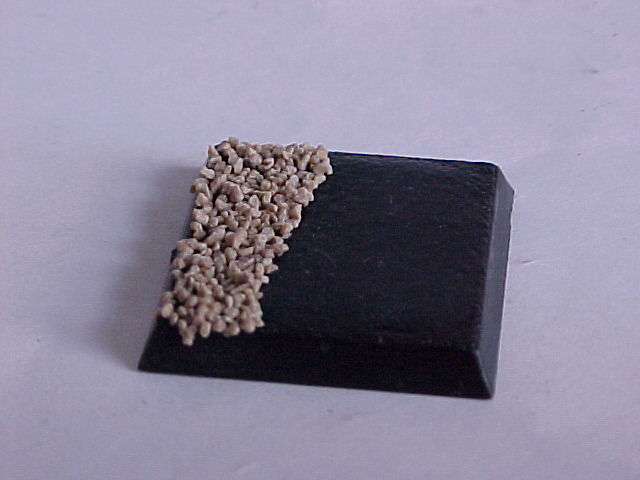
After the glue is completly dry, feel free to decorate the base as you wish... maybe add sand / rocks as a shore, surround the water to match the rest of your force as a puddle, whatever you want.
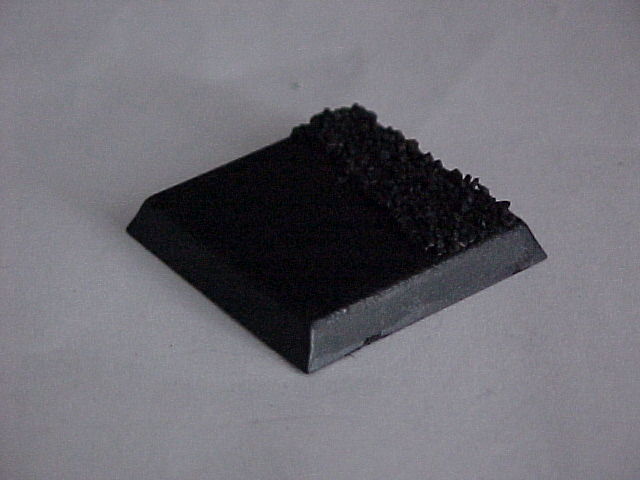
Again, once dry, spray undercoat black... this gives the paint something to adhere to and makes painting the rocks easier :)
Now comes the slightly harder part.
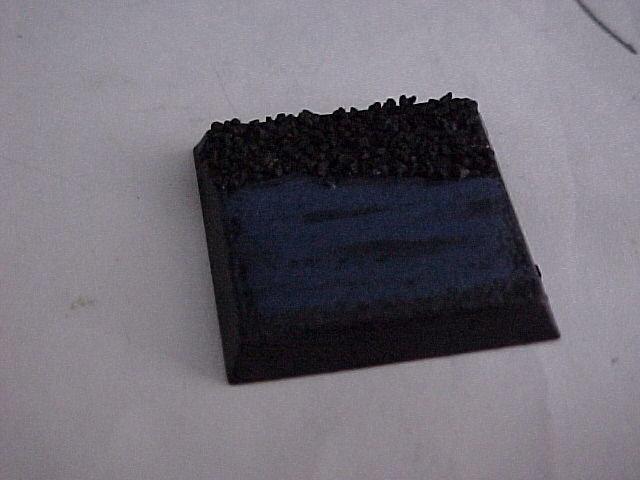
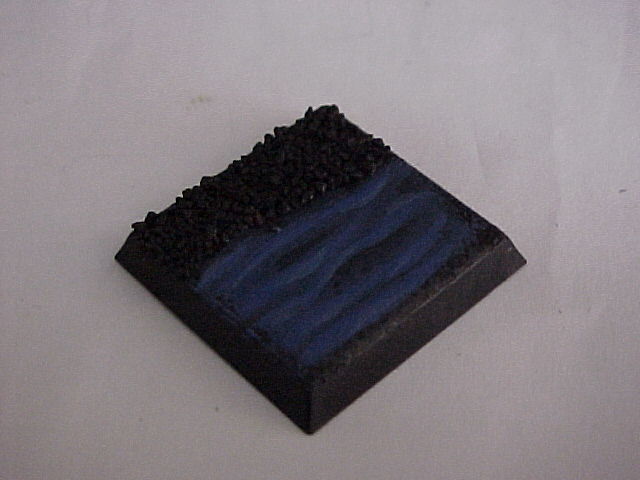
With this drying i mixed up the previous mix 50 / 50 Enchanted blue and painted this on in "waves" ... moving right to left, curving slightly.
Again, I added 50% enchanted blue to the wet mix and followed my previous lines, making sure not to quite go to the edge...
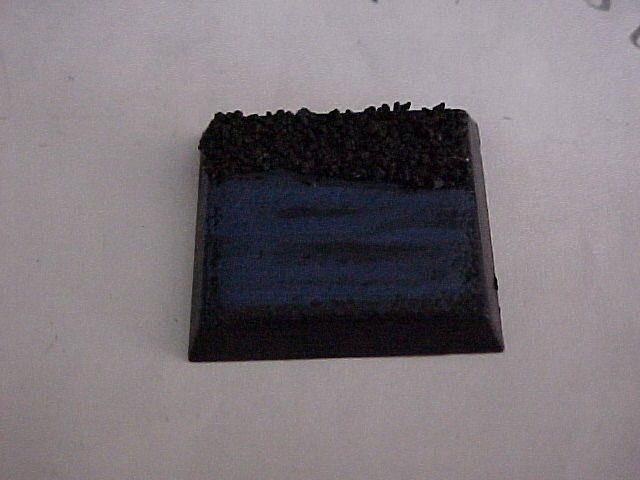
Basically, I added another 50% enhanted blue for each of the following steps...
And again... its pretty much enchanted blue at the moment...
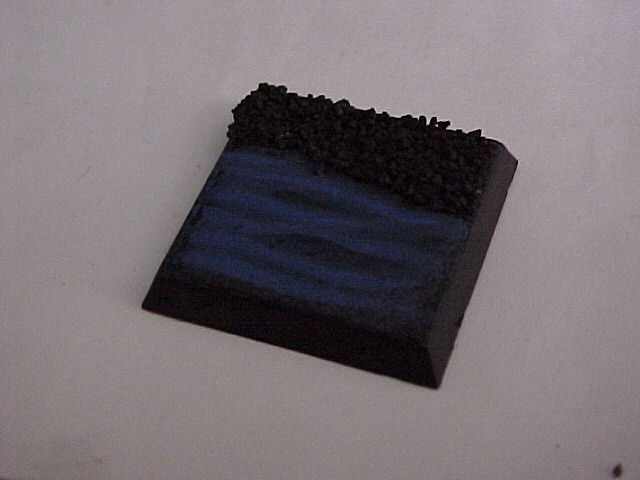
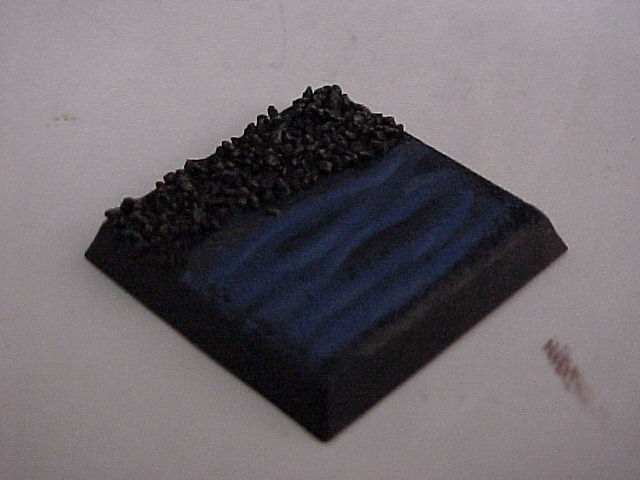
Finally I added a touch of Space Wolves grey to the mix and only painted the very fine edges...
Then I drybrushed the rocks at the edge... very dark, but thats the plan.. to add colour, but not detract attencion from the water...
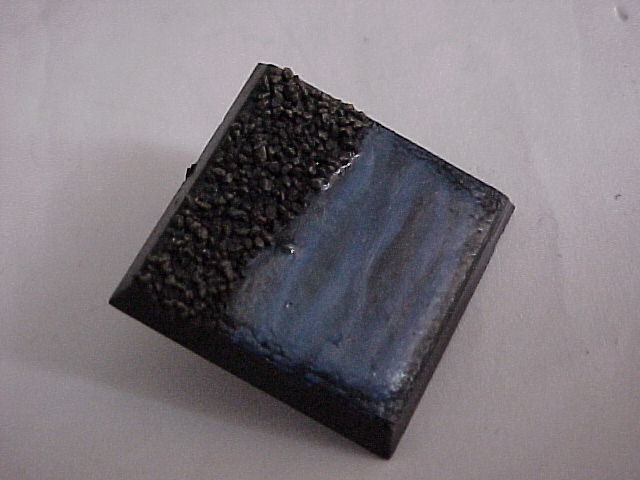
This was left to dry. Once dry, I added gloss varnish all over the water, keeping it thin. Alternatively clear Nail Varnish can be used...
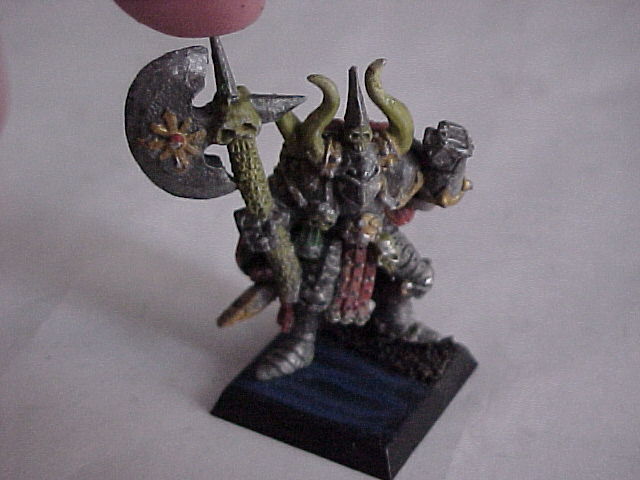
Once dry, add a painted figure...
And job's a good one! it takes a bit of practise, but theres no reason you can't paint the effect using red instead of blue for a "pool of blood" effect, or maybe a light grey for a lead look.. ooh.. thats a plan... |


All Images, Written Content and Design Copyright the Individual and Collective Creators of Build Your Imagination.
© buildyourimagination.co.uk (2004-2026)
Site Images by Christian Williams