About Build Your Imagination
Custom Game Systems
Battle Reports
Inquisitor Articles
The First Founding Project

Items For Sale


Commissioned Work
Dioramas
Army Origins
Completed Armies

30k Iron Warriors
30k Salamanders
30k Space Wolves
40k Black Legion
40k Blood Angels
40k Crimson Fist Bikers
40k Crimson Fists
40k Dark Eldar
40k Deathwatch
40k Escher Imperial Guard
40k Grey Knights
40k Imperial Guard
40k Ork Warbikers
40k Ork Pirates
40k Plague Marines
40k Relictors
40k Adepta Sororitas
40k Sisters Of Battle
40k Space Wolves
40k Witch Hunters
40k World Eaters
40k World Eater Bikes
Age Of Sigmar Beastclaw
Age Of Sigmar Behemat
Age Of Sigmar Daughters
Age Of Sigmar Melusai
Age Of Sigmar Nighthaunt
Bloodbowl Teams
Bolt Action German Army
Dystopian Wars Britannia
Burrows + Badgers Warbands
Inquisitor Miniatures
Warhammer Underworlds
WHFB Dwarf Army
WHFB Empire Army
WHFB Goblin Army
WHFB Undead Army
WHFB Wood Elf Army
Oathmark Amazons
Oathmark Northmen

Chibi Combat Patrols
40k Chibi Guard
40k Chibi Necron
40k Chibi Sisters

Alhaus Black Templars Army
Alhaus Grey Knights Army
Alhaus Imperial Fist Army
Alhaus Stormcast Army
Darren's Nurgle Army
Dionzi's Ultramarines

Say No More Comic
Guild Wars Comic


Modelling: Paved Bases
Modelling: Water Bases
Sculpting: Laurels
Sculpting: Rivets
Sculpting: Skull Icons


Youtube Channel

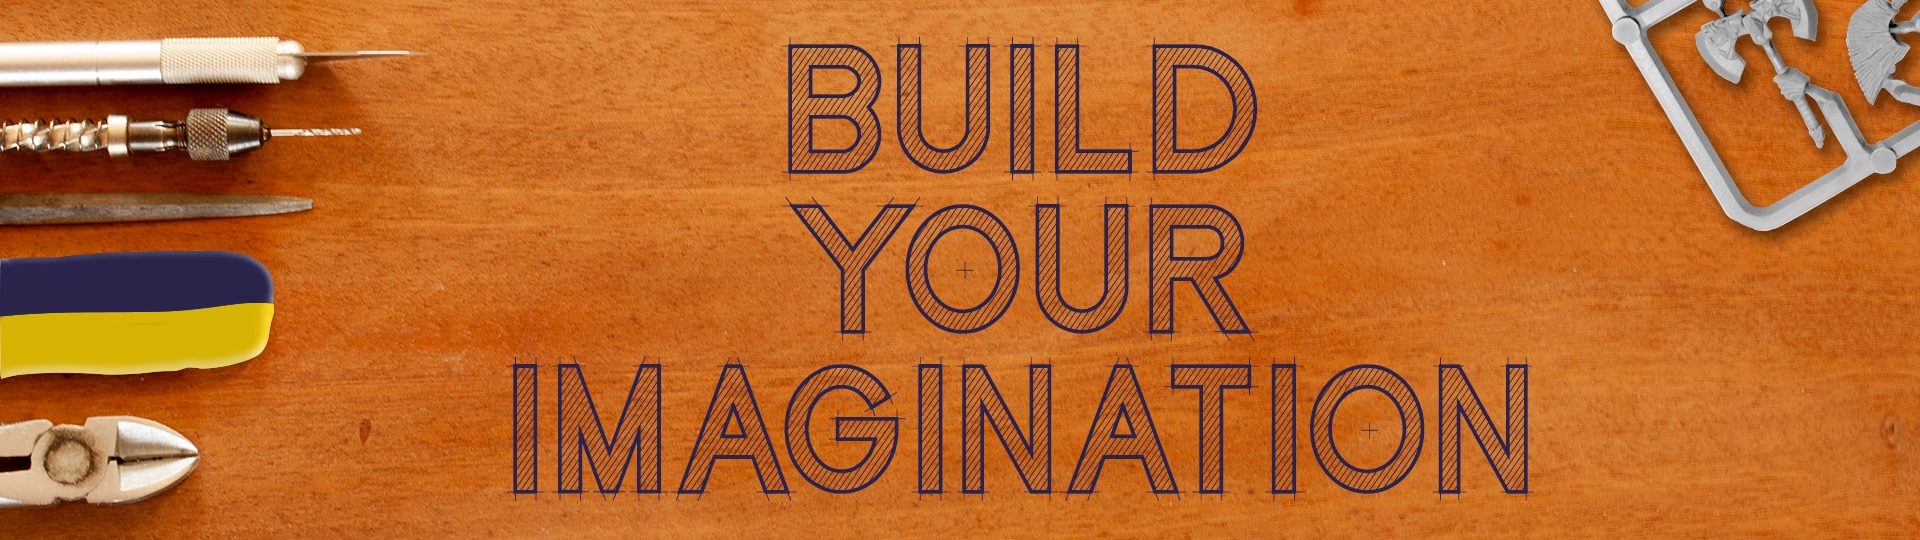
Sculpting Guide: Laurels

This is guide after a random conversation with TinFish, hence it's hap-hazardness.. I made it up as I went along!

Firstly, find something flat that you can move about & dont mind putting Greenstuff onto (I'm using the plastic insert the Balrog comes in, but a blister pack would suffice).

Next, apply some moisture to the top of the pack.
I use water dapped from a damp sponge, but some people use oils. The purpose is to stop the greenstuff sticking to the pack. This takes a bit of practise, several times I had to start again as the greenstuff had stuck to the pack...

Place a piece of greenstuff about the right size for the laurel on the pack. 
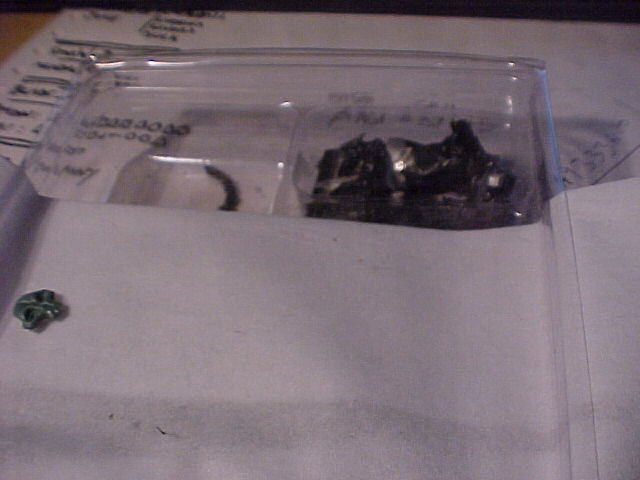
Use a modelling tool to even out the thickness and smoothen out any fingerprints.

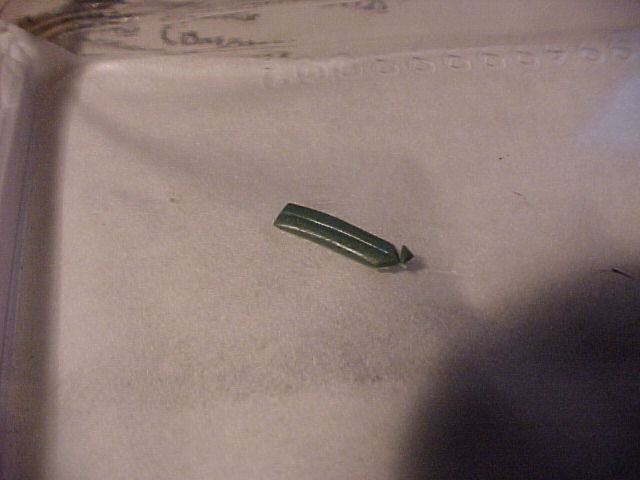
Once you have an even height of greenstuff, use a fine knife to cut off the edges to get an even rectangle.

After cutting each edge, use the flat of the blade to make sure the Greenstuff hasn't stuck to the packet.

After getting a nice clean, even shape, take a sharp modelling knife & score a line down the centre of the greenstuff gently.
Then check the Greenstuff is still moveable & not stuck to the work surface :)

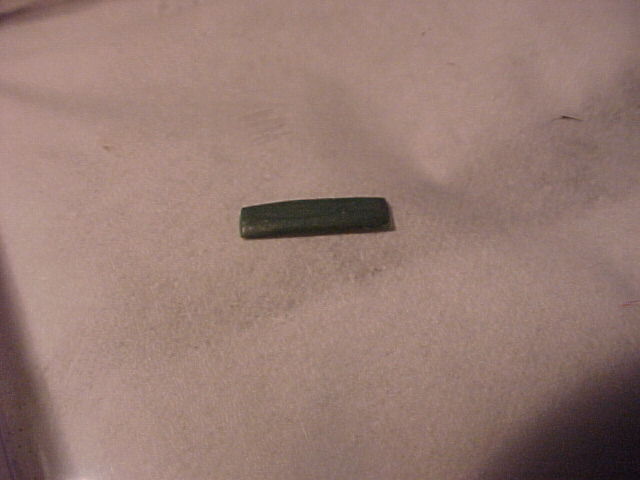
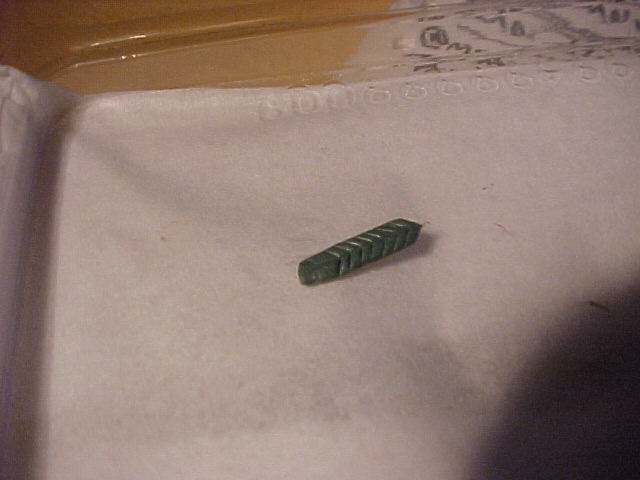
Now Very Very Carefully, cut the corners off the end at about 45 degrees.

Now run slightly deeper marks at 45degree angle all along both sides of the line.
Take your time & try to get the lines even :)
They need to be deep enough that they are not obscured by the undercoat, but not actually cutting all the way through the greenstuff.

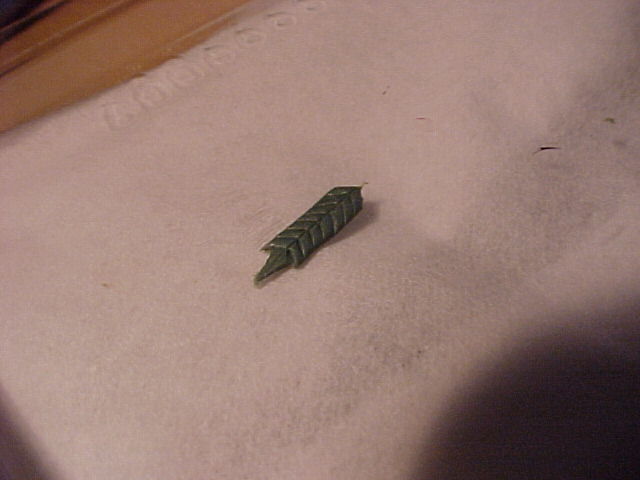
then check the Greenstuff is still moveable.. spot a pattern here?

Next, mark & cut off a triangle along the other end, try to keep it central!
then check the Greenstuff is still moveable...

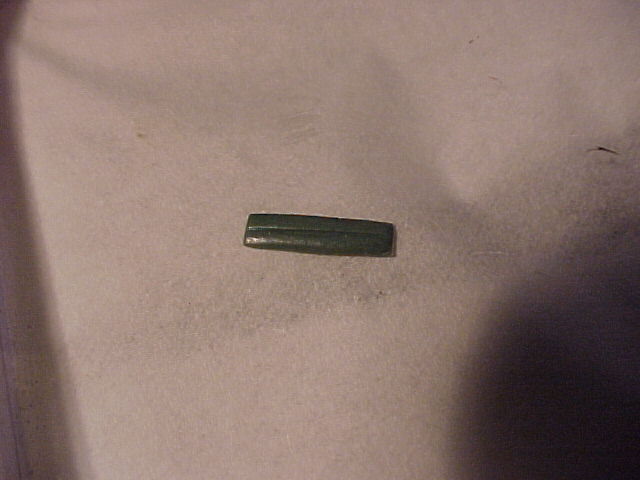
Finally, leave for an hour or so for the greenstuff to start to start to harden (but still flexible enough to place on the fig!) .
Carefully peel it off the pack and position on the figure. It's generally best to place the pointed end, then wrap the laurel around, then cut off any excess on the other end.

Repeat all these steps for the otherside, leave to dry overnight

This takes alot of practice to get right (from not sticking the laurel to the lid to lifting it without tearing it...) , but it certainly worth the effort!

Back to Top

All Images, Written Content and Design Copyright the Individual and Collective Creators of Build Your Imagination.

© buildyourimagination.co.uk (2004-2020)

Site Images by Christian Williams