|
Sculpting Technique: Skull Icons
Random idea this one. Someone wanted skull icons for something and was going to use transfers.
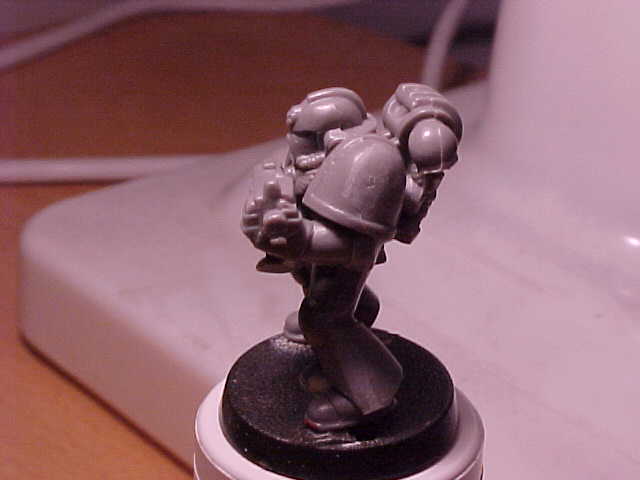
For this example I am using a 3 part SPace Marine circa WH40k 2nd edition :) As with anything, be sure to clean up the area first, nothing more irritating than to find a mould line where you are working!
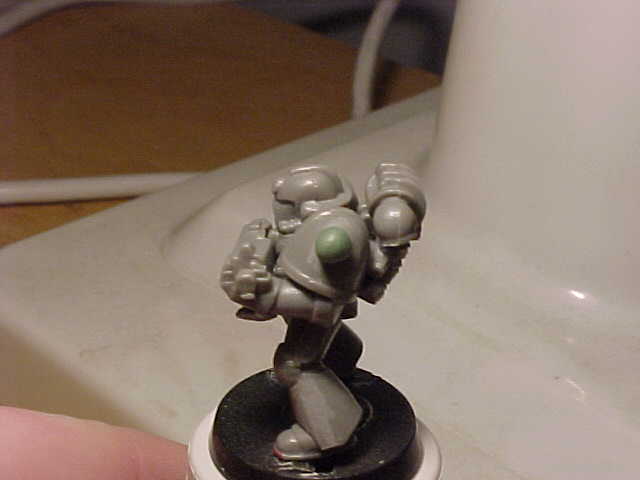
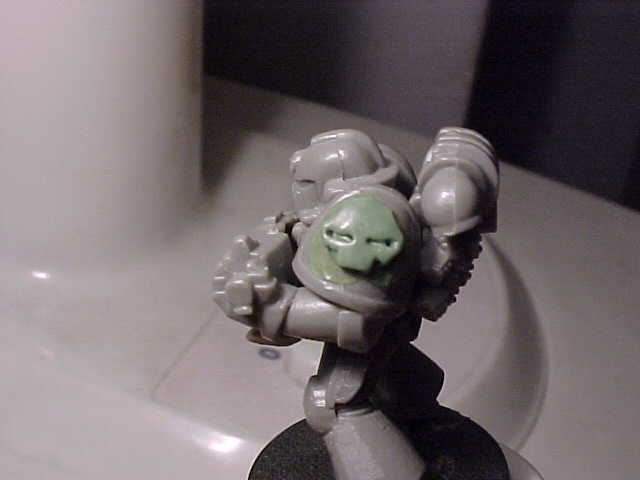
Next take a ball of greenstuff. again, the size takes practise to get right, but about 1/3 of the width of the icon should do fine.
Take a wet sculpting tool and flatten the ball into a circle. Try to get it all to an even height.. if it looks a little large pull it off and cut some GS off before rolling it back into a ball and start again... again a bit of patience is needed here!
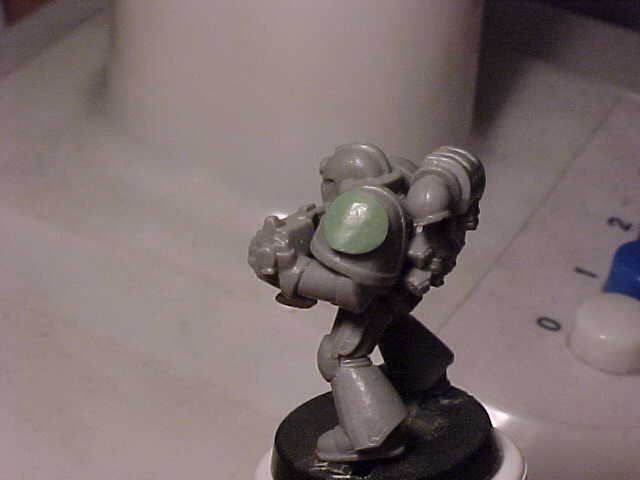
We are going to create the outline of the skull by flattening the bits we don't want into the shoulderpad.
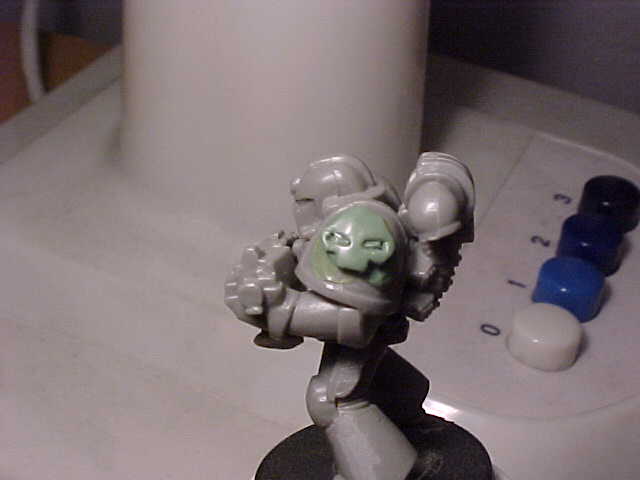
For this I started by using the curved end pf the Games Workshop Sculpting Tool to press in the top two edges of the skull. A different sculpting tool was used to make the square jaw and cheekbones.
A pair of holdes poked into the greenstuff with a pin-shaped sculpting tool are the inside edge of the eye sockets.
The same tool was used to give the outside side of the eye sockets. By pressing in 4 holes, we already have the impression of eyes...
Holding one edge of hte tool into the inner side of the socket, i moved the outer socket edge upwards to give the characteristic scowl of GW illustrations...
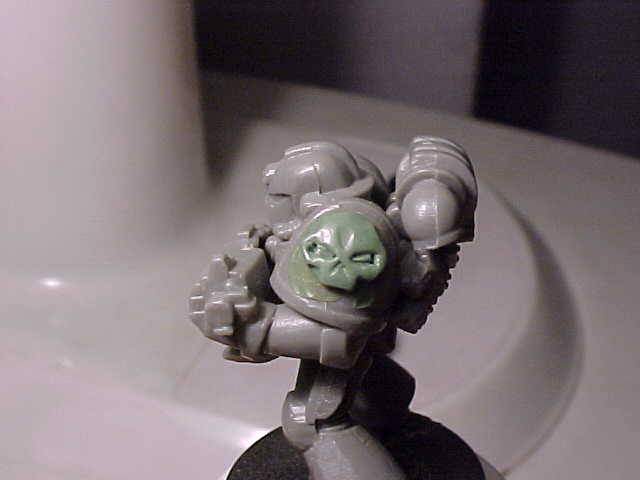
Next i used a flat pointed tool to poke two V shapes into the centre of the forehead,slightly above and below the eyeline. By being gentle, this pushes the now drying GReenstuff into natural ridges, thus by using the same tool for each skull you get a fairly uniform look...
Finally, the same tool is used to poke in the bottom of the square jawbone, giving the skull three teeth. A knife pressed in vertically could be used for more illustrated teeth... The greenstuff around all the edges is now either blended into the surface of the armour or wait till everything is dry then file :)
As with everything, the technique takes some practise & I find every time i try I improvise steps! so long as your figure hasn't got any other greenstuff drying or wet glue, don't be afraid to pull you work off and start again if it doesn't look right! |


All Images, Written Content and Design Copyright the Individual and Collective Creators of Build Your Imagination.
© buildyourimagination.co.uk (2004-2026)
Site Images by Christian Williams